WILDLIFE PHOTOGRAPHER: LESLIE MORRIS
Wildlife Enthusiast & Comms. Manager for CRC: Jim Morris
Professional wildlife photographer Leslie Morris and her husband, Jim — an advanced amateur photographer — suggest techniques that can help any waterbird enthusiast bring home impressive photos.
Learn more about how Sacramento is taking action to conserve birds of the world here
WHERE AND HOW TO BEGIN
Leslie advocates education and practice. “I began as a self-taught photographer, but disappointment with my results led me to enroll in photography workshops, both online and local. Workshops that Sacramento photographer Lewis Kemper taught increased my knowledge of how my camera works — the functions of aperture and shutter priority and the ISO light sensitivity setting,” Leslie said. “I also studied my camera manual, and I spent hours practicing at the Sacramento Zoo because the birds there wouldn’t fly away from me.”
To learn more about birds, she began accompanying birders on their expeditions. She encourages involvement with the North American Nature Photography Association, of which she is a member. “The association hosts instructional webinars, and its mission is to promote responsible nature photography as an artistic medium for the documentation, celebration and protection of our natural world.”
LOCATION AND TIMING
Location is critically important. Position yourself where birds are — or where you expect them to arrive soon. Both Leslie and Jim, who is communications manager for the California Rice Commission, frequently shoot photos in rice fields and in wildlife refuges. Their preferences also include the Gray Lodge Wildlife Area near Gridley, Colusa National Wildlife Refuge, Cosumnes River Preserve and the Yolo Bypass Wildlife Area.
CAMERAS AND LENSES
Digital single-lens reflex (SLR) cameras offer advantages: large image sensor areas, exposure control and lens interchangeability. Filling the frame with an image of a skittish bird usually requires shooting from a distance with a telephoto lens, perhaps from the vantage point of a camouflaged blind. Within limitations, though, compact point-and-shoot cameras and smartphone cameras can capture satisfying wildlife imagery.
“Visitors in the preserves often can get an incredibly up-close look at wildlife without even leaving their vehicles,” Jim said. “That’s right,” Leslie chimed in. “You don’t need to have a 600 mm telephoto lens as I do. In fact, sometimes that’s far too long, and I have to use a shorter lens instead because the birds are sitting right outside the car looking at me.”
EXPOSURE AND FOCUS SETTINGS
Capturing birds in motion requires fast shutter speeds and a steady hand — and perhaps a monopod or tripod for stability. A fast shutter speed requires a compensatory wide aperture. That results in reduced depth of field, which can be an effective way to isolate a bird by blurring a distracting background — but that requires precise focusing. For that reason, many photographers prefer to focus manually rather than rely on autofocus.
Jim, who favors shooting photos in ricelands and preserves from the driver’s seat of his car, steadies his camera on a bean bag platform that straddles his open car window frame. “That way I don’t have to get out of my car, which minimizes disturbance for wildlife,” Jim explained.
LIGHTING AND COMPOSITION
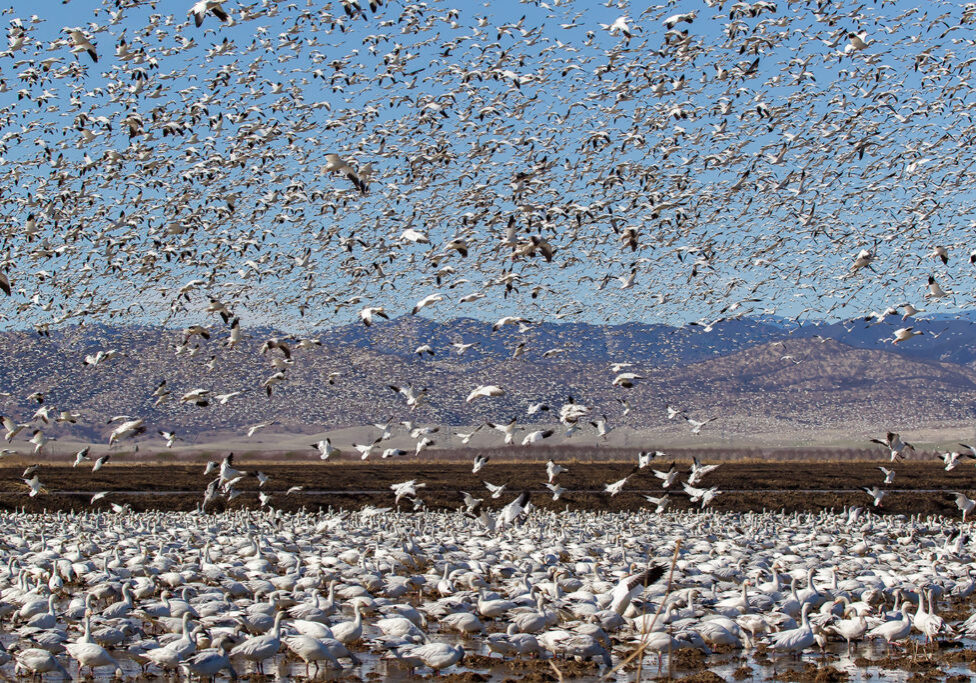
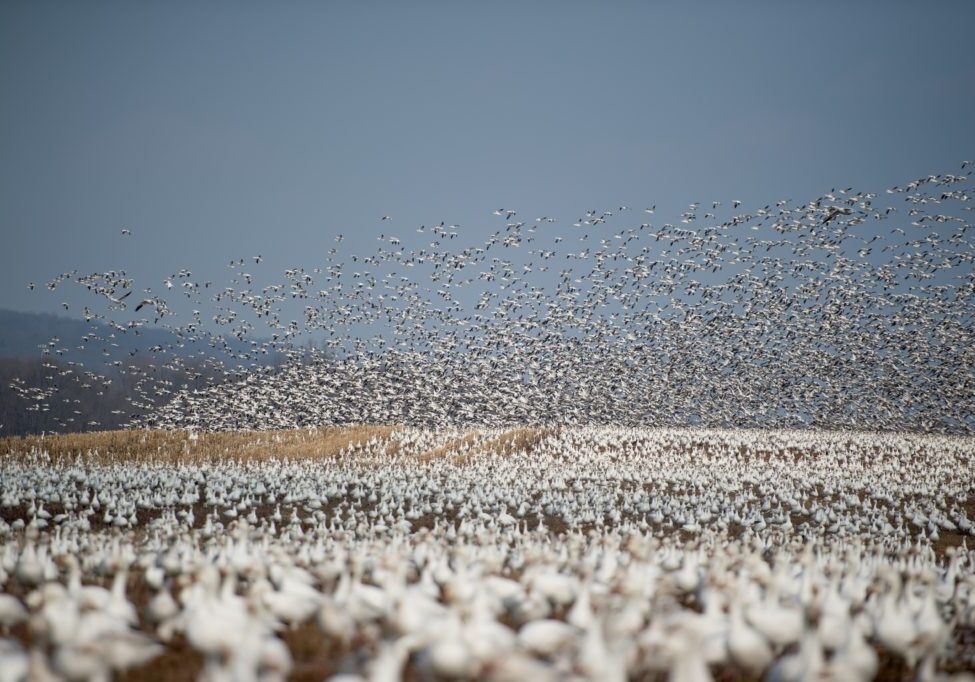
Some riveting images encompass a broad landscape, with large numbers of birds taking off, landing or feeding in a marsh. Almost any kind of camera, from a smartphone to an SLR, can do a good job of recording such scenes. Close-up images of birds may require use of advanced camera gear. Regardless of the number of birds in your image, the most compelling are those that tell a story by carefully framing the action to exclude irrelevant elements.
Lighting, too, is of paramount importance. Backlighting can be effective when the intention is to show birds in silhouette, but good direct lighting is necessary to reveal color and detail accurately. Flash photography is inadvisable, because it can startle birds. Instead, use natural light to your advantage.
A camera’s ISO setting, governing the sensitivity of the light sensor, influences image quality. In automatic mode, the camera sets the ISO. In bright light, an ISO of 100 to 200 is typical.
“I have a professional-level Canon that allows me to shoot at an ISO as high as 3,200 for low-light situations. An ISO setting of 3,200 on a compact camera would produce images that are so grainy they would not be useful. The more entry-level the camera is, the lower the ISO should be kept in order to minimize digital noise,” Leslie explained.
“Above all,” she added, “it’s important to photograph wildlife responsibly, without interfering with their habitat, or flushing them from their feeding grounds, or otherwise doing harm to wildlife or their environs.”
Please consider using social media to help spread the word about the valuable work of the California Ricelands Waterbird Foundation and our partners in this critically important mission. Thank you.


